You’ve just added six drops of your expensive lavender essential oil to your diffuser, twice what you used to use and you’re still barely getting any scent. Sound familiar? Your diffuser might be quietly draining your wallet without you even realizing it.
According to aromatherapy experts, a poorly maintained diffuser can waste up to 40% of the essential oils you put in it. With the average essential oil enthusiast spending $150-300 annually on oils, that’s potentially $120 going literally into thin air and not in the way you intended.
“Most people don’t realize that the white residue and oil buildup inside their diffuser isn’t just unattractive… it’s actively preventing proper diffusion and altering the therapeutic properties of their essential oils,” explains Catherine Thomas, certified aromatherapist and founder of Essential Living Today.
Whether you’re using a sleek Vitruvi Stone diffuser on your nightstand or a portable InnoGear in your office, regular maintenance isn’t just about aesthetics.. it’s about protecting your investment in wellness. This comprehensive guide will walk you through everything you need to know about keeping your diffuser in peak condition, ensuring you get every drop of value from your essential oils.
- The Hidden Costs of a Neglected Diffuser
- 7 Signs Your Diffuser Desperately Needs Cleaning
- Cleaning Methods by Diffuser Type
- DIY Cleaning Solutions That Won't Damage Your Diffuser
- The Complete Step-by-Step Deep Cleaning Guide
- Travel-Specific Maintenance Tips
- Creating Your Maintenance Schedule
- Troubleshooting Guide: When Cleaning Doesn't Fix the Problem
- Preventing Future Issues: Best Practices
- FAQ: Your Diffuser Maintenance Questions Answered
- Wrapping Up
The Hidden Costs of a Neglected Diffuser
That buildup inside your diffuser isn’t just gross—it’s expensive. Let’s break down the real cost of a dirty diffuser:
Financial Impact
When your diffuser’s components are coated with residue, you naturally add more oil to achieve the same scent intensity. This can double your oil consumption over time.
Cost Calculation:
- Average essential oil bottle (15ml): $15
- Normal monthly usage with clean diffuser: 1 bottle every 2 months = $90/year
- Usage with dirty diffuser: 1 bottle every month = $180/year
- Annual waste: $90
And that’s just for one oil! Most aromatherapy enthusiasts use multiple oils and blends, multiplying this waste significantly.
Reduced Therapeutic Benefits
Beyond the financial cost, there’s another price you’re paying: diminished wellness benefits.
When oil residue builds up, it doesn’t just reduce the amount of mist—it actually alters the chemical composition of any new oils you add. This cross-contamination means you’re not getting the pure therapeutic effects you’re seeking.
“The ultrasonic plate in water-based diffusers needs to be completely clean to effectively vibrate and create the micro-particles that deliver aromatherapy benefits,” notes Dr. Jennifer Wilson, researcher at the Aromatic Plant Research Center. “Even a thin film of residue can reduce diffusion efficiency by 30-50%.”
In nebulizing diffusers, like those from Organic Aromas, buildup in the glass components and atomizer can completely block the output, giving you virtually none of the intended benefits despite using the same amount of precious oil.
7 Signs Your Diffuser Desperately Needs Cleaning
Not sure if your diffuser needs attention? Look for these telltale signs:
- Reduced or inconsistent mist output – The most obvious sign, your once-robust cloud of mist is now wimpy or sporadic.
- Weaker scent throw – You’re using the same amount of oil (or more) but getting less fragrance throughout the room.
- Visible residue or film – Any discoloration or stickiness inside the water reservoir or on components indicates buildup.
- White dust or residue around the diffuser – This mineral deposit (especially common with tap water) indicates similar buildup inside.
- Strange noises during operation – New clicking, gurgling, or buzzing sounds often signal that the ultrasonic plate is struggling against buildup.
- Water leakage or improper sealing – Residue can prevent proper closure of components, leading to leaks.
- Diffuser turning off unexpectedly – When sensors are coated with residue, they may falsely detect empty water reservoirs or malfunction.
If your diffuser is showing even two or three of these symptoms, it’s overdue for maintenance.
Cleaning Methods by Diffuser Type
Different diffuser technologies require different cleaning approaches. Using the wrong method can damage your device or void warranties, so let’s explore the right techniques for each type.
Ultrasonic Water Diffusers
These are the most common type, used by popular brands like Vitruvi, InnoGear, Asakuki, and URPOWER.
What You’ll Need:
- White distilled vinegar
- Isopropyl alcohol (70%)
- Cotton swabs or soft brush (like a clean toothbrush)
- Microfiber cloth
- Clean water (ideally distilled)
Step-by-Step Cleaning Process
Here is the portable aromatherapy diffuser cleaning process.
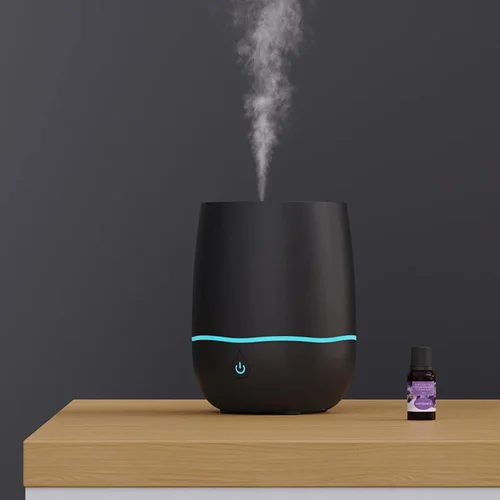
Ultrasonic Water Diffusers Cleaning Steps
Always start with a disconnected and completely empty diffuser.
Fill halfway with clean water, add 1 tablespoon of white vinegar, and run for 5-10 minutes. This loosens buildup.
This silver disc at the bottom is the heart of your diffuser. Dip a cotton swab in vinegar (not alcohol for some brands like Vitruvi) and gently clean the plate with circular motions.
Dampen a cloth with the vinegar solution and wipe all interior surfaces. For stubborn residue, let vinegar sit for 10 minutes before wiping.
Use a dry cotton swab to clean the air vent where the mist comes out. NEVER pour water directly into this area.
Give a final rinse with clean water and dry thoroughly with a clean cloth before using again.
Brand-Specific Note: Vitruvi specifically recommends against using alcohol on their Stone Diffuser as it can damage the finish. Stick to vinegar only. InnoGear recommends cleaning the ultrasonic plate every 5-6 uses for optimal performance.
Nebulizing (Waterless) Diffusers
These high-end diffusers, like those from Organic Aromas, use no water and create a more potent dispersion of pure essential oil.
What You’ll Need:
- Isopropyl alcohol (91%)
- Small bottle brush or pipe cleaner
- Clean, dry cloth
- Warm water
Step-by-Step Cleaning Process
Here is the Nebulizing (Waterless) Diffusers portable aromatherapy diffuser cleaning process.
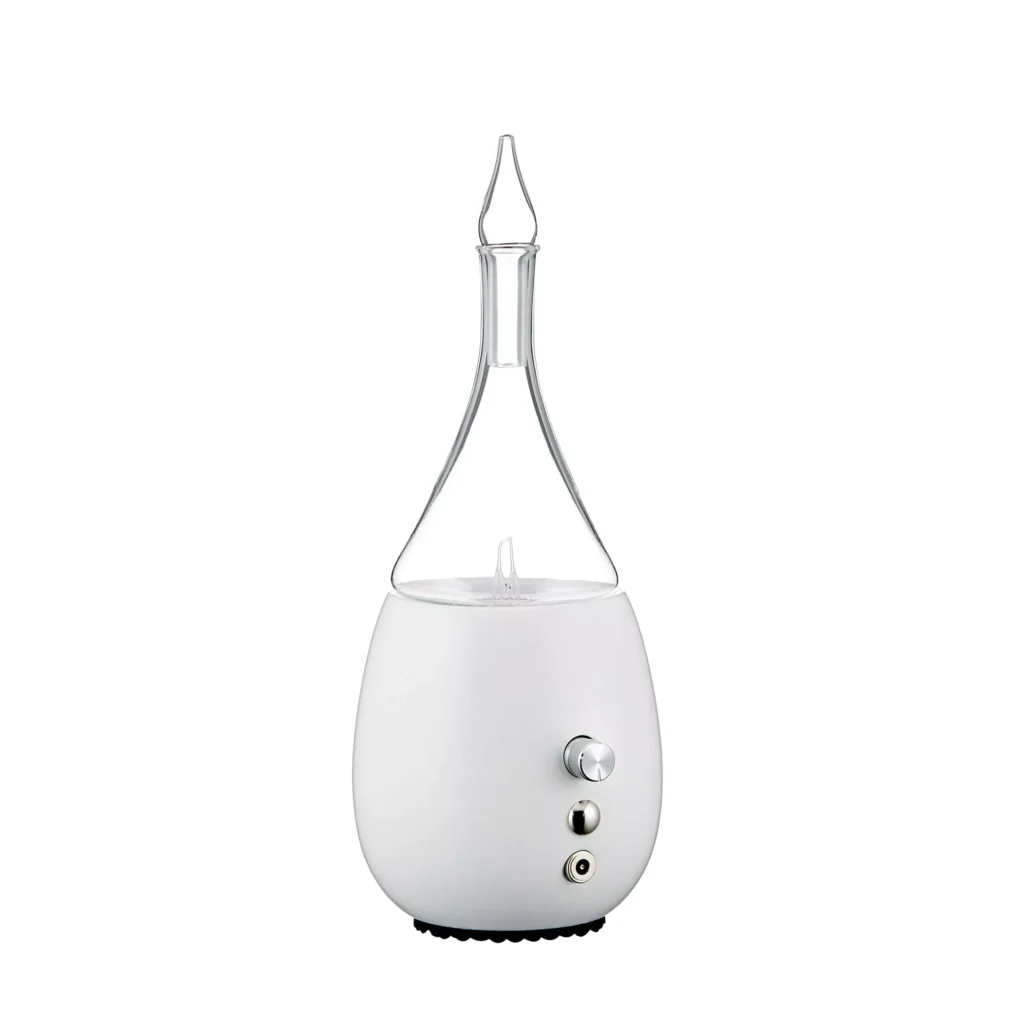
Nebulizing (Waterless) Diffusers Cleaning Steps
Separate the glass reservoir from the base (containing the air pump).
Rinse the glass reservoir with warm water, then add a small amount of alcohol. Swirl to coat all interior surfaces, then drain and rinse thoroughly.
The tiny metal component where air and oil meet is critical. Soak a cotton swab in alcohol and carefully clean around this area without applying pressure.
Any moisture left in the system can affect performance, so ensure glass components are 100% dry before reassembling.
Before adding new oil, reassemble and run the diffuser for 30 seconds with no oil to clear any remaining cleaning solution.
Pro Tip: Organic Aromas recommends cleaning between different oil types to prevent scent contamination. Their nebulizers should be cleaned every 3-4 days of regular use.
Other Diffuser Types
Heat Diffusers:
- Allow to cool completely before cleaning
- Wipe the heating element with alcohol-dampened cloth
- Never submerge electrical components
Evaporative Diffusers:
- Replace pads/filters according to manufacturer guidelines
- Clean the fan area with compressed air
- Wipe exterior with damp cloth
DIY Cleaning Solutions That Won’t Damage Your Diffuser
While basic vinegar and alcohol are the standards, here are some specific formulations for different cleaning challenges:
For Mineral Buildup (White Residue)
Vinegar Solution:
- 1 part white distilled vinegar
- 1 part distilled water
Let the mixture sit in the diffuser for 30 minutes before running the diffuser for 5-10 minutes, then empty and rinse thoroughly.
For Oil Residue and Stickiness
Alcohol Solution (for non-Vitruvi diffusers):
- Small amount of isopropyl alcohol (70%)
- Apply with cotton swab only to affected areas
- Wipe immediately with clean, damp cloth
For Disinfecting Between Uses
Citric Acid Solution:
- 1/2 teaspoon citric acid powder
- 1 cup warm distilled water
- Run through diffuser for 5-10 minutes, then rinse
Warning: Never use dish soap, essential oils (yes, even tea tree oil), bleach, or abrasive cleaners in your diffuser. These can damage the ultrasonic plate or create a residue that’s impossible to fully remove.
The Complete Step-by-Step Deep Cleaning Guide
For those times when your diffuser needs a thorough rejuvenation, follow this comprehensive deep-cleaning protocol:
Step 1: Preparation
- Unplug your diffuser and empty any remaining water
- Read your specific manufacturer’s cleaning recommendations
- Assemble all cleaning supplies before starting
Step 2: Initial Vinegar Run
- Fill the reservoir halfway with distilled water
- Add 1 tablespoon white vinegar
- Run the diffuser for 10-15 minutes to loosen buildup
- Empty completely
Step 3: Detailed Cleaning
- Dip a cotton swab in vinegar (or alcohol if appropriate for your model)
- Gently clean the ultrasonic plate/disc with circular motions
- Use a small brush to clean around buttons and crevices
- Wipe down all interior surfaces
Step 4: Address Problem Areas
- For stubborn residue, apply a vinegar-soaked cloth and let sit for 15 minutes
- For mineral buildup, use a citric acid solution
- For air vents, use a dry cotton swab or soft brush
Step 5: Rinse and Dry
- Rinse thoroughly with distilled water (if appropriate for your model)
- Dry all components with a clean, lint-free cloth
- Air dry completely before reassembling (at least 2 hours)
Step 6: Test Run
- Add distilled water only (no oil)
- Run for 5 minutes to ensure proper function
- Check for normal mist output and operation
Travel-Specific Maintenance Tips
Maintaining your portable diffuser while traveling presents unique challenges, but neglecting it can lead to malfunctions when you need aromatherapy most.
Portable Cleaning Kit
Create a small cleaning kit that includes:
- Travel-sized white vinegar (in a secure bottle)
- Pre-soaked alcohol wipes
- Cotton swabs
- Microfiber cloth
- Small bottle of distilled water
Hotel Room Quick-Clean Method
Limited on resources? Try this:
- Empty any water and wipe out the reservoir
- Dampen a cloth with drinking water
- Add a drop of white vinegar to the cloth (taken from room service)
- Clean the ultrasonic plate and interior
- Wipe with clean water and dry thoroughly
Between-Use Maintenance
When switching between oils during your trip:
- Run the diffuser with plain water for 30-60 seconds
- Empty completely
- Wipe the interior with a clean cloth
- Let air dry for 5 minutes before adding new oil
Pro Tip: When flying, empty your diffuser completely and carry essential oils in appropriate TSA-approved containers. Even trace amounts of water or oil can leak during pressure changes in flight.
Creating Your Maintenance Schedule
The key to effortless diffuser care is consistency. Here’s a simple schedule you can follow:
Daily (30 seconds)
- Empty water after use
- Wipe interior with a clean, dry cloth
- Leave to air dry completely
Weekly (3 minutes)
- Quick vinegar rinse (run for 5 minutes)
- Clean ultrasonic plate with cotton swab
- Wipe all interior surfaces
Monthly (10 minutes)
- Complete deep clean (all steps)
- Check all components for wear or damage
- Clean exterior and buttons
Brand-Specific Frequencies
Different brands recommend different cleaning schedules:
- Vitruvi: Clean after 5-7 uses or when changing oils
- InnoGear: Weekly cleaning, more with heavy use
- Asakuki: After 3-5 uses or when changing oil types
- Organic Aromas: Every 3-4 days or between different oils
- URPOWER: Weekly, or more frequently with thicker oils
Troubleshooting Guide: When Cleaning Doesn’t Fix the Problem
Sometimes cleaning isn’t enough to restore your diffuser to its former glory. If you’ve thoroughly cleaned your device and still experiencing issues, try these solutions:
Problem: Diffuser turns on but produces no mist
Possible causes and solutions:
- Water level too low/high: Adjust to recommended level (usually marked)
- Ultrasonic plate damaged: May need replacement (contact manufacturer)
- Air outlet blocked: Clear any obstruction with dry cotton swab
Problem: Diffuser makes unusual noise
Possible causes and solutions:
- Foreign object in water: Empty, clean and refill
- Diffuser on uneven surface: Place on flat, stable surface
- Internal damage: Contact manufacturer if noise persists after cleaning
Problem: Diffuser turns off unexpectedly
Possible causes and solutions:
- Water sensor malfunction: Clean around sensor area with vinegar
- Automatic shutoff working correctly: Some models turn off when water is low
- Overheating: Allow to cool completely before restarting
When to Replace vs. Repair
Most diffusers last 1-3 years with proper maintenance. Consider replacement if:
- Ultrasonic plate no longer functions despite cleaning
- Device is more than 2 years old and repeatedly malfunctioning
- Repair costs approach 50% of a new unit’s price
Preventing Future Issues: Best Practices
Prevention is always easier than deep cleaning. Implement these habits to keep your diffuser running smoothly:
Water Quality Matters
The type of water you use significantly impacts maintenance requirements:
- Best: Distilled water (prevents mineral buildup)
- Good: Filtered water (removes some minerals)
- Avoid: Hard tap water (causes rapid mineral buildup)
Oil Selection Considerations
- Thicker oils (like patchouli and sandalwood) leave more residue
- Citrus oils can be more corrosive to certain components
- Resinous oils (myrrh, frankincense) tend to create more buildup
Storage Best Practices
When not using your diffuser for extended periods:
- Clean thoroughly following the deep clean protocol
- Dry completely
- Store in a dust-free environment
- Keep away from direct sunlight and extreme temperatures
FAQ: Your Diffuser Maintenance Questions Answered
Wrapping Up
Maintaining your diffuser isn’t just about extending its lifespan—it’s about protecting your investment in essential oils and ensuring you receive their full therapeutic benefits.
With just minutes of care each week, you can prevent the buildup that silently wastes your precious oils and diminishes your aromatherapy experience. A well-maintained diffuser not only performs better but can save you significant money over time by using oils more efficiently.
Remember, the difference between fully enjoying your essential oils and wasting them often comes down to this simple maintenance routine. Your future self (and your wallet) will thank you for the minimal effort it takes to keep your diffuser in optimal condition.
Ready to start your maintenance routine? Download our free printable Diffuser Maintenance Schedule to keep track of your cleaning routine and never waste essential oils on a dirty diffuser again.
Have you noticed a difference in performance after cleaning your diffuser? Share your experience in the comments below!


