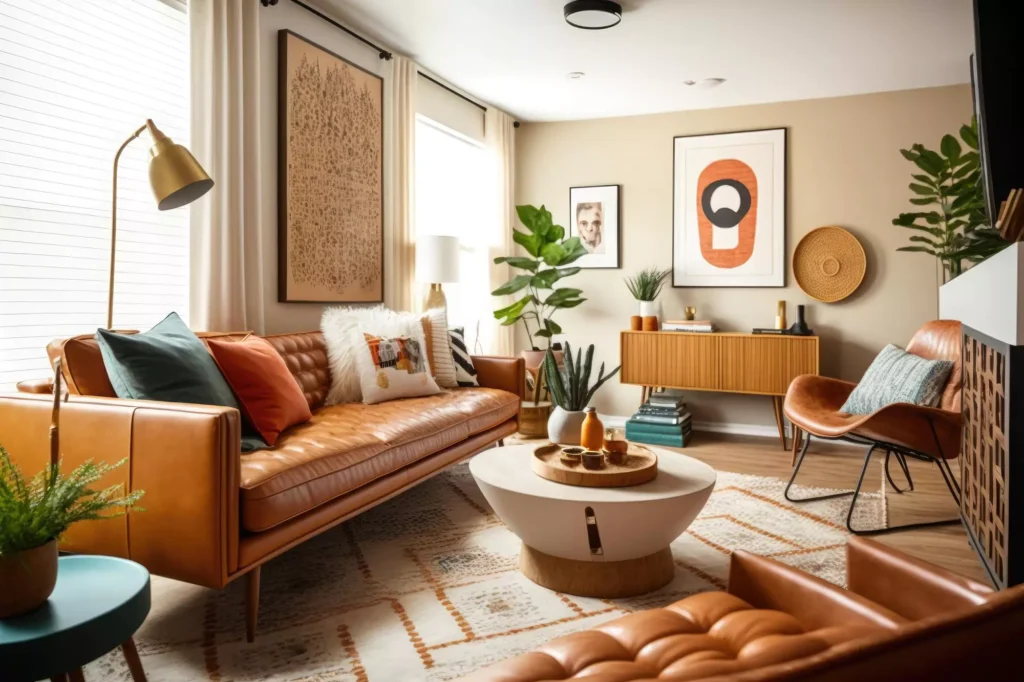
Wall art and decor play a crucial part in the colourful canvas of home design, telling stories of individual taste and aesthetics that turn plain spaces into cosy havens. How to Hang Wall Art and Decor (without damaging it) is a further major subject to cover.
Home is where the heart is, and the walls are the storytellers. Yet, there’s a common headache that accompanies the desire to adorn our living spaces with beautiful pieces – the fear of damaging those walls we call home. It’s a universal woe; we all want to make our spaces uniquely ours, but the thought of drilling into walls or leaving irreversible marks often puts a damper on our decor dreams.
- Know Your Wall Types: Hanging Art Without a Trace
- Essential Tools and Materials for Hanging Wall Art and Decor
- Proper Measurement and Placement
- Choosing the Right Hanging Hardware
- Techniques for Different Items
- Using Adhesive Hooks and Strips
- Creating Gallery Walls
- Addressing Common Concerns
- DIY Wall Art and Decor Projects
- Maintenance and Re-Arranging
- Wrapping Up
So, let’s talk about pain points. How many times have you hesitated to hang that gorgeous artwork or family photo because you dread the aftermath – unsightly holes, chipped paint, or worse, a stern word from a landlord? The struggle is real, and it’s shared by many who yearn to personalise their spaces without compromising the integrity of their abodes.
But fear not, dear reader, for every problem has a solution. What if I told you that you could infuse your living space with your personality and style without the haunting fear of wall damage? What if I revealed the secrets to hanging wall art and decor with finesse, leaving your walls unscathed and your creative spirit soaring?
This predicament is not just yours; it’s a shared dilemma that demands a resolution. The solution lies not in compromise but in understanding the art and science of hanging wall decor. So, grab your metaphorical toolkit and embark on a journey to elevate your space, banish the fear, and turn those walls into a curated masterpiece that speaks volumes about you. Ready? Let’s dive into the realm of painless wall embellishment and unlock the secrets to a home that truly says, “Wow.”
Know Your Wall Types: Hanging Art Without a Trace
Hanging wall art is a transformative way to bring life and personality to your living spaces. Yet, the challenge lies in doing so without leaving a trail of damage on your walls. The first step to mastering this art is understanding the different types of walls you might encounter in your home: drywall, plaster, and brick.
Drywall Dilemmas
Drywall, the most common wall type in modern homes, is both a friend and a foe when it comes to hanging art. While it’s relatively easy to work with, it demands precision. When dealing with drywall, your go-to hardware includes screws, anchors, and nails. However, it’s crucial to consider the weight of your art and choose the appropriate hanging method accordingly. A reliable stud finder becomes your best companion in locating the sturdiest support.

The Sturdy Challenge of Plaster
Plaster walls, reminiscent of older homes, present a sturdier challenge. These walls require a bit more finesse in their approach. Here, it’s advisable to use plastic anchors or toggle bolts for heavier items, distributing the weight across a broader area to avoid potential crumbling. Identifying studs behind plaster can be trickier, but specialized tools make the job more manageable.

The Rugged Beauty of Brick
For those lucky enough to have exposed brick walls, the aesthetic appeal is undeniable. Yet, hanging art on brick demands a different strategy. Traditional nails won’t suffice; instead, opt for brick clips or adhesive hooks designed for rough surfaces. These provide a secure grip without compromising the integrity of the brick.
How Wall Composition Affects Hanging Methods
Understanding the composition of your walls is the key to selecting the right hanging methods. Each type requires a unique approach to ensure your art stays put without causing damage. Drywall’s composition, being a gypsum-based board, craves the right anchors and screws that grip securely without tearing through the material.
On the flip side, plaster’s composition demands a delicate touch. This material, a mix of gypsum, lime, and fibre, can be more brittle than drywall. Using anchors designed for plaster walls helps to distribute the load effectively, preventing unsightly cracks or chips.
Now, consider the rugged, textured surface of brick walls. Their porous nature calls for specialized hardware that can grip onto the rough surface without compromising the structural integrity. In essence, the material makeup of your walls dictates the tools and techniques required for a secure and damage-free hanging experience.
Tips for Identifying the Type of Wall in Your Home
Before embarking on your wall art adventure, it’s imperative to identify the type of walls you’re working with. Here are some practical tips to help you become a home detective:
- Check the Age of Your Home:
- Older homes often feature plaster walls, while newer constructions are more likely to have drywall. Investigate your home’s history to get a clue.
- Inspect Wall Texture:
- Gently run your fingers over the wall’s surface. Drywall tends to have a smooth, even texture, while plaster can be irregular and textured. Bricks, of course, are unmistakable with their rough, coarse feel.
- Tap Test:
- Tap the wall lightly. A hollow sound may indicate drywall, while a denser, solid sound could suggest plaster.
- Check Exposed Areas:
- In unfinished spaces or closets, you might find exposed sections that reveal the underlying wall structure. Take advantage of these areas for identification.
By familiarizing yourself with these cues, you’ll be better equipped to choose the right hanging techniques for your specific wall type, ensuring your art stays securely in place without leaving behind any unwanted souvenir
>> Home Makeover 101: Choose the Right Paint Color and Wow Your Guests!
Essential Tools and Materials for Hanging Wall Art and Decor
When it comes to transforming your living space with captivating wall art and decor, precision is key. Before you dive into the creative world of arranging your gallery wall, let’s talk about the unsung heroes of this process: the tools and materials that will make your project a breeze.
Necessary Tools for the Job
1. Tape Measure: For Precision
Grab yourself a trusty tape measure. This unassuming tool is your secret weapon for ensuring your wall art lands exactly where you want it. Measure twice, hang once—ever heard that one? It’s a golden rule.
2. Level: Keeping Things on the Straight and Narrow
Don’t embark on your hanging adventure without a level. It’s the sheriff in town, ensuring your artworks don’t end up looking like they’re on a funhouse ride. Straight, steady, and visually pleasing – that’s the goal.
3. Hammer: The Classic Contender
A good old-fashioned hammer might seem basic, but it’s indispensable. Whether you’re using nails, screws, or anchors, the hammer is your loyal sidekick, bringing your vision to life with each tap.
Types of Hanging Hardware
1. Nails
The quintessential nail is perfect for lightweight items like framed photos and smaller pieces. It’s like the denim jeans of hanging hardware—reliable, versatile, and always a good fit.
2. Screws
For those substantial artworks or items with a bit of weight, screws are your go-to. Think of them as the work boots of the hanging world, providing robust support for your heftier decor.
3. Anchors
When faced with challenging walls, like concrete or drywall, anchors come to the rescue. These are the superheroes that ensure your masterpiece stays put, no matter the surface.
4. Adhesive Hooks
If you’re not keen on poking holes in your walls, adhesive hooks are the heroes of the no-damage movement. They stick around without leaving a trace, making them perfect for temporary displays or rented spaces.
Choosing the Right Tools for Different Walls
1. Drywall Dilemmas
For the common drywall, nails and screws work like a charm. However, if you’re dealing with heavier items, consider anchors to fortify your hanging game.
2. Plaster Possibilities
Plaster walls demand a delicate touch. Opt for screws and anchors, ensuring a secure grip without causing cracks or crumbles in your canvas.
3. Brick Challenges
Brick walls, the sturdy beasts of architecture, require a bit more effort. Masonry screws and anchors become your best friends, conquering the tough exterior for a secure display.
Proper Measurement and Placement
When it comes to hanging wall art and decor, getting the measurements right is the cornerstone of a visually appealing display. Start by grabbing your trusty tape measure – a must-have tool in any DIY enthusiast’s arsenal. Measure twice, hang once, as the saying goes. Whether it’s a striking canvas or a collection of framed photos, precision matters.
How to measure and mark accurately
Begin by deciding the central point of your display. If it’s a single piece, find its centre; if it’s a collection, determine the midpoint of your arrangement. Now, measure the height from the floor to this point. For a single piece, eye level is your goal. If it’s a gallery, use the average eye level across all pieces for a harmonious look.

Once you have your measurements, lightly mark the spot with a pencil. No need for heavy-handed marks – we’re aiming for a seamless finish. If your arrangement spans a larger area, consider using painter’s tape to outline the space. This not only aids in visualization but also prevents unnecessary holes.
Considerations for eye level and room dynamics
Ever walk into a room where the art seems slightly off-kilter? It might be because the placement doesn’t sync with the room dynamics. When determining eye level, think about the function of the space. In a living room, where people often gather, aim for a slightly lower eye level to accommodate seated viewers.
Room dynamics also include the furniture and architecture. If you have a statement piece above a sofa, ensure it complements the furniture’s dimensions. The goal is a seamless integration – your art should be an extension of the room’s vibe.
Tips for creating aesthetically pleasing arrangements
Now, onto the art of arrangement. Consider the visual weight of each piece. Think of it like a seesaw – balance the heavy with the light. A large, bold painting might be counteracted by a cluster of smaller frames.
Experiment with layouts on the floor before committing to the wall. This way, you can fine-tune the arrangement without making unnecessary holes. And don’t be afraid to embrace asymmetry; it can add a touch of intrigue.
Remember, your wall is your canvas. Play with heights, mix textures, and explore unconventional arrangements. The key is to strike a balance between order and creativity.
Choosing the Right Hanging Hardware
With your measurements in hand, it’s time to dive into the world of hanging hardware. This is where the magic happens – the bridge between your art and the wall. Let’s break it down.
Overview of different types of hardware and their uses
Picture hooks, adhesive strips, anchors, and wires – the hardware aisle can be overwhelming. But fear not, we’re here to simplify. For lighter pieces, adhesive strips might be your go-to, offering a damage-free solution. Heavier artworks, on the other hand, may require anchors or sturdy picture hooks.
Wires are versatile, allowing for easy adjustments. They’re particularly handy for gallery walls with multiple pieces. Remember, the right hardware ensures your art stays put without damaging your walls.
Weight considerations for various items
Weight matters in the world of wall decor. Before you grab a nail, assess the heft of your item. Small nails may suffice for lightweight frames, but heavier pieces demand more robust solutions. Always check the weight limit of your chosen hardware to avoid any unexpected crashes.
For those hefty mirrors or substantial canvases, consider multiple anchor points. Distributing the weight evenly minimizes stress on a single spot, keeping your wall intact.
How to determine the appropriate hardware for your wall type
Not all walls are created equal, and the right hardware depends on your wall type. For solid walls like brick or concrete, anchors are your steadfast companions. Drywall may require specialized anchors to ensure a secure hold. When in doubt, consult with your local hardware store expert – they’re the unsung heroes of the DIY world.
Armed with this knowledge, you’re now equipped to turn your blank walls into a showcase of your style and personality. Measure precisely, choose the right hardware wisely, and let your creativity flow. Your walls are ready to tell your unique story.
Techniques for Different Items
So, you’ve got that perfect piece of art or decor that’s been waiting in the wings, ready to transform your space into a masterpiece. The only catch? The thought of creating Swiss cheese out of your walls in the process has you hesitating. Fear not! In this section, we’re diving into the nitty-gritty of hanging different items without leaving a trace of wall trauma.
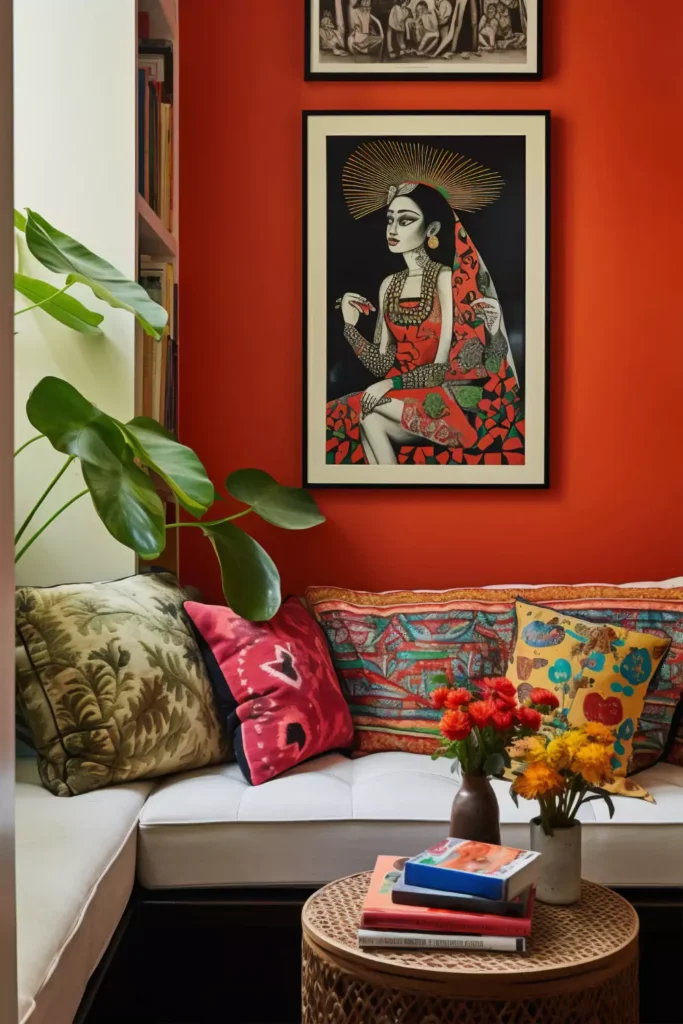
Hanging Framed Art: Crafting a Seamless Display
Let’s start with the classics – framed art. Your cherished prints and paintings deserve a spot where they can shine without compromising the integrity of your walls. Begin by selecting the right hardware based on the weight of your frame. Nails and picture hooks are your go-to team here. Measure twice (or thrice, just to be sure) before hammering away, ensuring your artwork rests comfortably at eye level for maximum impact. It’s all about precision – a little patience now saves you from a misaligned eyesore later.
Displaying Canvas Prints and Tapestries: Art in Motion
Canvas prints and tapestries bring a touch of bohemian elegance to your space. The key to a damage-free display? Enter Command Strips and adhesive hooks. These nifty contraptions adhere securely to the wall while allowing for a painless removal process. Your tapestry cascading effortlessly or that canvas print suspended in mid-air, defying gravity. It’s like magic, only it’s the kind you can repeat whenever the mood strikes.
Showcasing Decorative Objects and 3D Art: Sculpting Space with Finesse
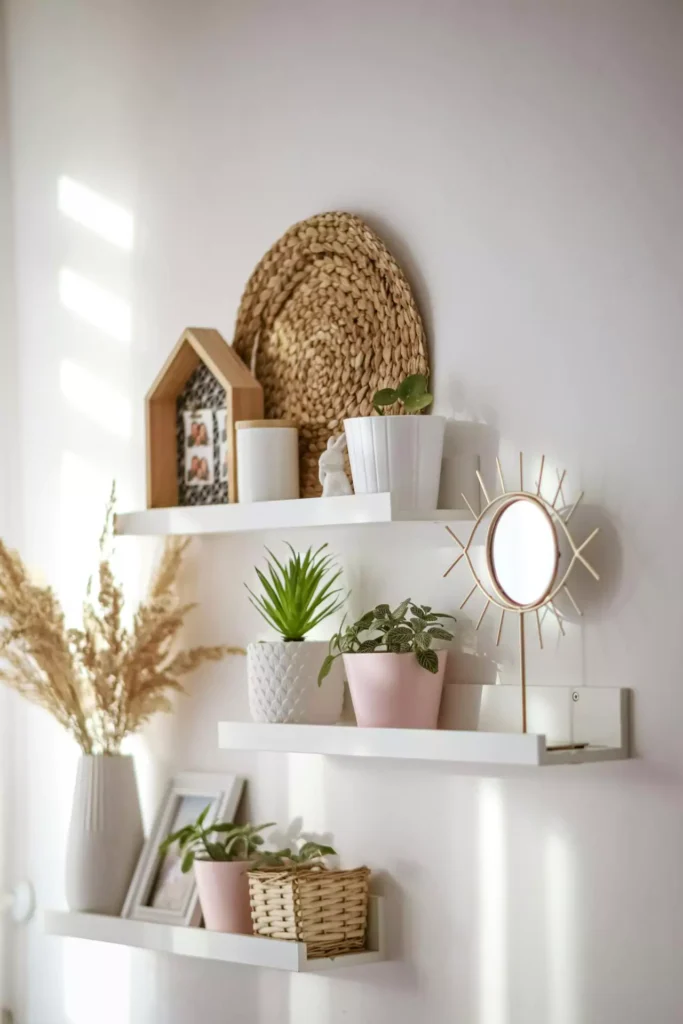
Decorative objects and 3D art add layers to your decor story. The challenge lies in giving them the spotlight without casting a shadow of wall damage. Floating shelves become your accomplice here, giving the illusion of items suspended in mid-air. Strategically placing 3D art on these shelves transforms your wall into a curated gallery. The result? An artful dance between your decor and the negative space around it, leaving your walls unscathed and your guests captivated.
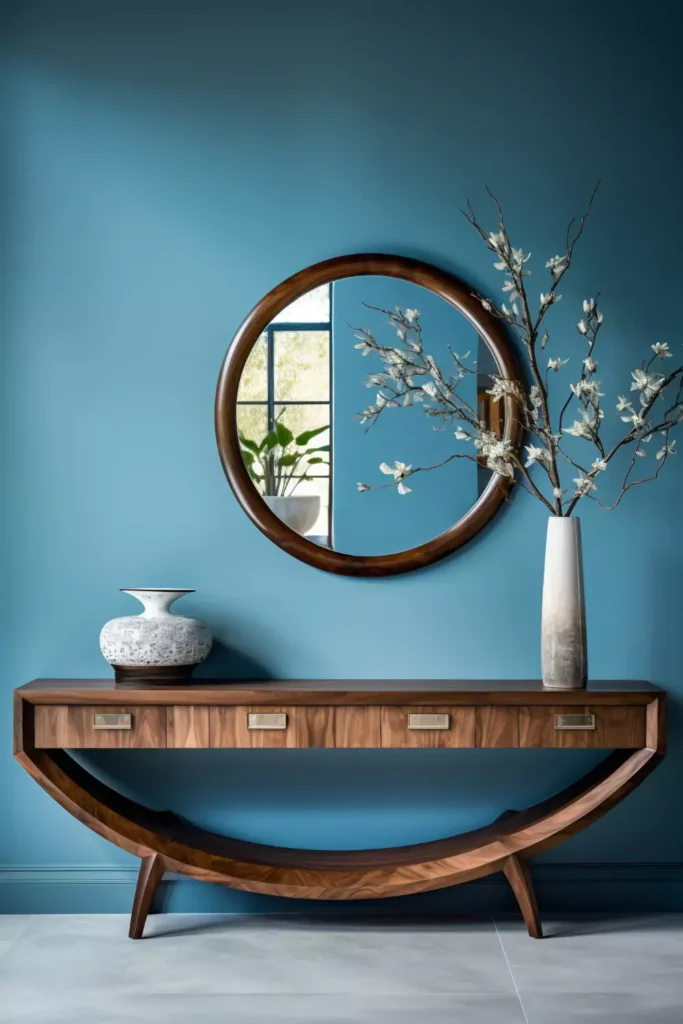
Hanging Mirrors Safely: Reflecting Perfection
Mirrors not only open up spaces but also reflect your style. Safeguard your walls with a mix of mirror clips and anchors. It’s all about distributing the weight evenly to avoid any undue stress on your wall. Picture this process as securing a treasure – with each anchor and clip, you’re fortifying your mirror, ensuring it hangs securely without a hitch. Your walls stay intact, and your reflection gets the admiration it deserves.
Using Adhesive Hooks and Strips
Adhesive hooks and strips have revolutionized the way we hang wall art and decor, offering a damage-free alternative to traditional methods like nails and screws. Before diving into the application, let’s weigh the pros and cons of these sticky solutions.
Pros and Cons of Adhesive Options
Pros
Adhesive hooks and strips are a game-changer for those who cringe at the thought of putting holes in their walls. They are ideal for renters or anyone who loves to switch up their decor frequently.
The ease of use is a major advantage; no tools are required, and the application process is typically swift. Adhesive options are also versatile, designed to hold a variety of weights and item types.
Cons
While adhesive hooks offer a seamless installation, they may struggle with heavier items. It’s crucial to carefully follow the weight guidelines provided by the manufacturer.
Additionally, certain wall textures may not provide the best grip, leading to potential slippage. Understanding the limitations will help you make informed decisions about where and how to use these adhesives.
How to Apply and Remove Adhesive Hooks Without Damaging Walls
Applying adhesive hooks correctly ensures a secure hold and minimizes the risk of damage. Here’s a quick guide:
- Clean the Surface: Wipe the wall with a clean, dry cloth to remove any dust or debris. This ensures better adhesion.
- Choose the Right Size: Select adhesive hooks that can handle the weight of your item. Most packages provide weight limits for each hook.
- Positioning is Key: Place the hook at the desired location and press firmly for about 30 seconds. Follow the specific instructions for your adhesive product.
- Wait for Cure Time: Allow the adhesive to cure for the recommended time before hanging any items. This helps in achieving maximum strength.
Removal Process:
- Peel, Don’t Pull: To remove, gently peel the adhesive strip downward, avoiding any sudden pulls that could damage the wall.
- Slow and Steady: If resistance is encountered, use a slow and steady motion. Applying heat with a hairdryer can sometimes make the adhesive more pliable.
- Peel Away Residue: If any residue remains, roll it off your wall with your fingertips or use a gentle adhesive remover.
Suitable Surfaces for Adhesive Hooks
Adhesive hooks work best on smooth, clean surfaces. They adhere well to painted walls, glass, metal, and tiles. However, they may struggle with rough or textured walls. It’s crucial to check the manufacturer’s recommendations to ensure compatibility with your specific wall type.
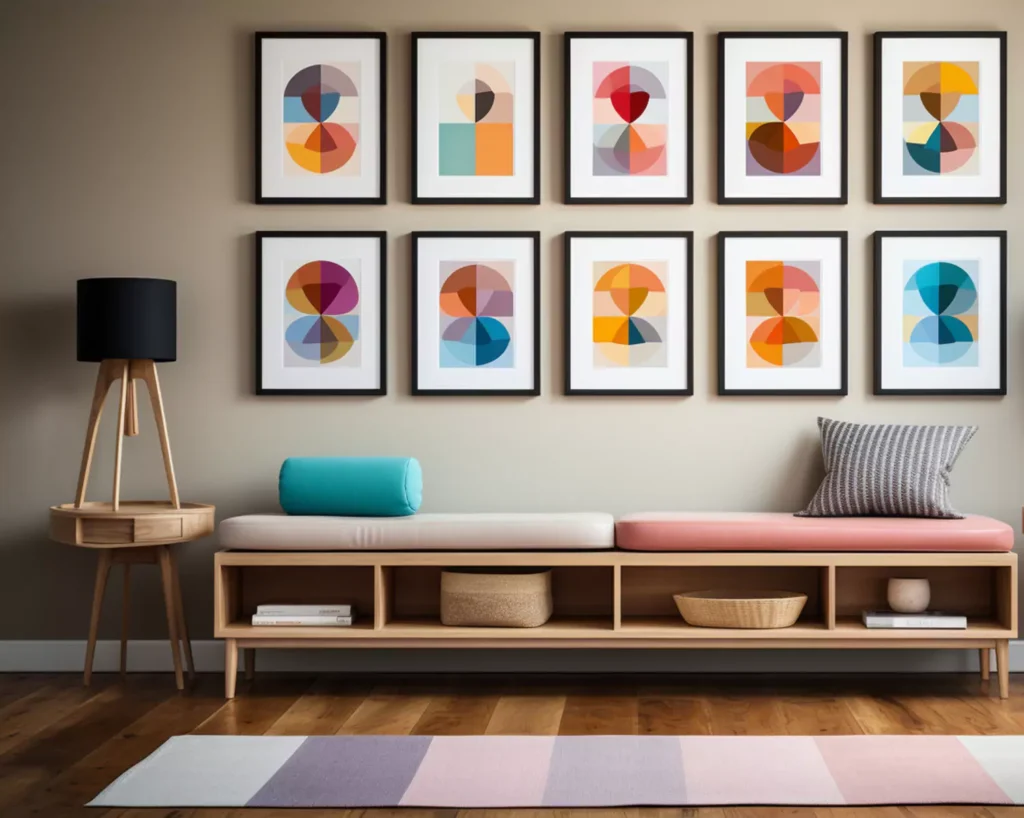
Creating Gallery Walls
Gallery walls are a fantastic way to turn your collection of art and decor into a cohesive and visually appealing display. Let’s explore some tips for planning and designing a gallery wall that captures attention without damaging your walls.
Tips for Planning and Designing a Gallery Wall
- Theme and Cohesion: Decide on a theme or colour palette to create a cohesive look. Whether it’s a collection of family photos, artwork, or a mix, a unifying element ties it all together.
- Measure Twice, Hang Once: Before you start hammering or applying adhesive, lay out your design on the floor. Measure and adjust until you achieve the desired arrangement.
- Mix and Match: Don’t limit yourself to uniformity. Mix different sizes, frames, and styles for an eclectic and dynamic gallery.
Step-by-Step Guide for Arranging and Hanging Multiple Items
- Start with a Focal Point: Choose a central piece that anchors the gallery. It could be a larger artwork or a uniquely framed photo.
- Build Outward: Add pieces around your focal point, balancing sizes and shapes. Keep some uniformity in spacing for a polished look.
- Adjust as You Go: Once you start hanging, step back frequently to assess the arrangement. It’s okay to make adjustments to maintain balance.
Maintaining Balance and Cohesion in a Gallery Display
Balance is the key to a visually pleasing gallery wall. Consider these points:
- Symmetry vs. Asymmetry: Decide on the level of symmetry you want. A perfectly balanced gallery can be stunning, but so can a more eclectic, asymmetrical arrangement.
- Consistent Frames: If you’re using different frames, try to keep a consistent colour or material to tie everything together.
- Spacing Matters: Maintain consistent spacing between frames for a polished appearance. Varying the distances intentionally can also create a dynamic effect.
Addressing Common Concerns
Dealing with Wall Damage and Repairs
One of the biggest worries when hanging wall art is the potential damage it might cause to your pristine walls. We get it, no one wants unsightly holes or chipped paint. But fear not! Repairing wall damage is often simpler than you think. For small nail holes, a bit of spackle does wonders – just fill, sand, and paint. Larger holes might need a patch, readily available at any hardware store. Remember, a touch-up paint job can make those imperfections vanish into thin air.
Adjusting Artwork Without Causing Harm
Life is dynamic, and so should your wall decor! The beauty of a well-decorated space lies in its adaptability. If you’re itching to shuffle things around, fear not the aftermath. Use removable adhesive hooks and strips. They can bear the weight of your artwork without leaving a mark when it’s time to switch things up. These nifty tools are your secret weapons for a wall that can evolve with your changing tastes.
Tips for Renters: Temporary and Non-Invasive Hanging Methods
Renting? No problem! Your landlord may not be thrilled about nail holes, but that doesn’t mean you can’t turn your space into a masterpiece. Temporary and non-invasive hanging methods are your best friends. Consider command hooks or adhesive picture hanging strips. They can carry the weight without jeopardizing your security deposit. It’s a win-win: a fabulous home without the landlord blues.
DIY Wall Art and Decor Projects
Creating Your Wall Art
Feeling crafty? Why not infuse your walls with your personality by crafting your wall art? The possibilities are endless – from abstract paintings to personalized photo collages. Get your hands dirty with some paint, or explore the world of mixed media. DIY wall art not only adds a unique touch but also showcases your creativity. Plus, it’s a fantastic conversation starter when guests inquire about your stunning creations.
Incorporating Unconventional Items into Your Decor
Who says wall decor has to be confined to frames and canvases? Break the mould by incorporating unconventional items. Hang vintage plates, musical instruments, or even a collection of hats. The key is to think outside the frame and let your imagination run wild. It’s not just decor; it’s a statement.
Personalizing Your Space with Unique Touches
Your home is an extension of yourself, so let it reflect your personality. Add unique touches that tell your story. Frame handwritten letters, display cherished mementoes, or create a wall of your favourite quotes. Personalization is the secret sauce that transforms a house into a home. It’s the little details that make the biggest impact.
Maintenance and Re-Arranging
Regular Checks for Stability and Security
Once your wall art is up, don’t forget to give it some love from time to time. Perform regular checks for stability and security. Ensure that hooks are holding strong, and all components are in place. It’s like giving your decor a wellness check, and it guarantees a long and happy life on your walls.
How to Safely Re-Arrange Wall Art Without Causing Damage
Feel the urge to shake things up? No worries! Safely re-arranging wall art is an art in itself. Start by removing items with care. Use proper tools to avoid unnecessary stress on your decor. When putting them back up, follow the original hanging guidelines. This way, you get a fresh look without the headache of repairs.
Tips for Seasonal Updates and Changes
As seasons change, so can your decor. Embrace the spirit of each season by incorporating subtle changes. Think autumn-inspired colours or beach-themed accessories for the summer. These seasonal updates keep your space dynamic and exciting without a major overhaul. It’s a simple yet effective way to keep your home feeling fresh throughout the year.
Wrapping Up
Wrapping up our journey into the art of hanging wall decor without leaving a mark, let’s quickly revisit the key strategies for a damage-free display. Remember, precision is your ally when measuring and placing items. Whether it’s a cherished painting or a funky tapestry, choosing the right hanging hardware tailored to your wall type is paramount. The importance of thoughtful hanging techniques cannot be overstated—after all, your walls deserve the TLC too.
As we conclude, here’s your nudge to unleash your inner decorator. Embrace the creative freedom that adorns your living space. Let your walls be the canvas for your style. So, grab those tools, measure twice, hang once, and turn your home into a gallery of self-expression. Happy decorating! 🖼️✨